Introduction
This Howto describes building a 4 plant hydroponic garden. The method being used is a top fed drip system. Th nutrient solution flows out the ends of 1/4 inch tubing.
Parts List
*A square bucket with lid. (my container is from cat litter. approx 5 gallons)
*A 105GPH fountain pump
*5 feet of 1/4 inch drip tubing
*3 1/4 inch barb tees
*6 small zip ties
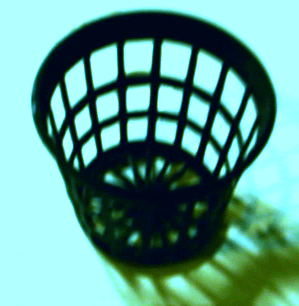
*4 net pots
*1 pound of expanded clay rock
*An Air pump (optional)
*Small air stone (optional)
Construction
Start by collecting all the required parts.
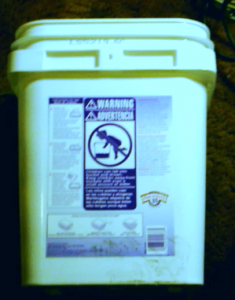
Our bucket before we get started

The net pots we are using
The major part of this project is cutting the holes in the lid. Below you’ll see the holes drawn on the lid for the net pots.
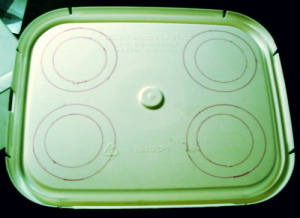
Lid marked up showing where the net pots will go.
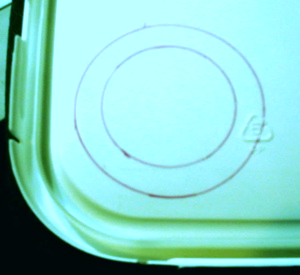
Close up view.
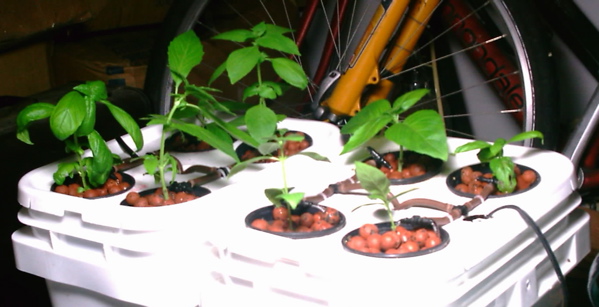
The picture below shows the constructed garden. a 1/2 inch hole needs to be drilled in the center. You can see the tee centered above it. This hole also acts as a drain hole. A one inch hole needs to be drilled for the pump power cord. The 6 zip ties require 2 small holes each. The main tubing connecting the pump should be cut so the pump just rests on the bottom of the container.
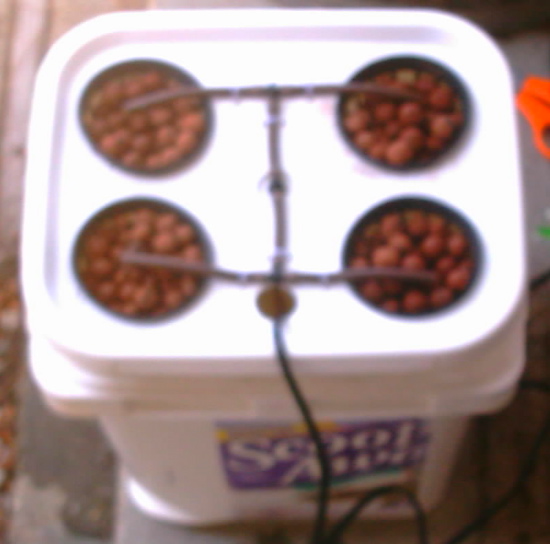
The completed garden before planting.
Nutrients
For the first time grower and a system this size a one part nutrient mix is best. There are a few choices on the market. Be sure to use one for hydroponics. I use ‘Super Natural Gro Terra’.
The other item to be concerned with is PH. My city water comes complete with dissolved solids. The big one being calcium bicarbonate.
Replace the nutrient every 1 to 2 weeks. For a small system this is the easiest way to keep everything in check.
Buy The Meters
After having the garden for 2.5 weeks my meters arrived in the mail. They will make a difference on the success of your hydroponic garden.
You’ll need one or more meters that take the following measurements:
* PH
* EC
* temperature
My city water has an EC value of 450uS and a ph of 7.5. After mixing the nutrient solution the EC value was 2100uS and a ph of 6.4.
Planting
I planted the following Plants.
* Cilantro
* Sweat Basil
* Sweat Marjoram
* Rue
The plants were bought at Home Depot. The plants were removed from their containers and the dirt rinsed off. Don’t buy plants that are root bound.
Conclusion
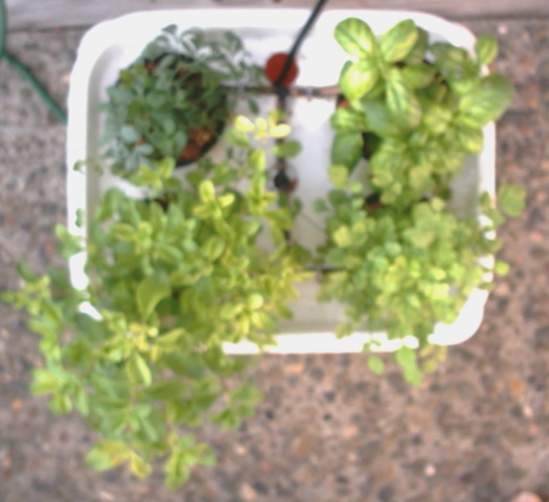
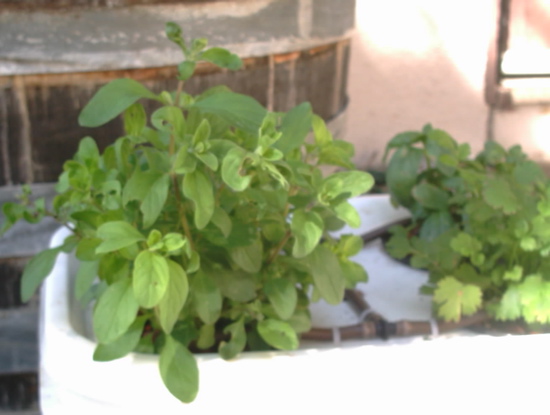
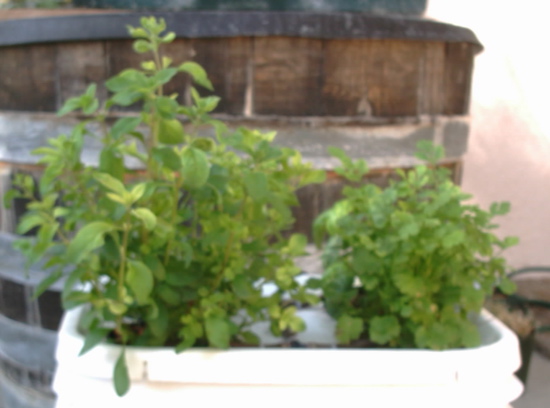
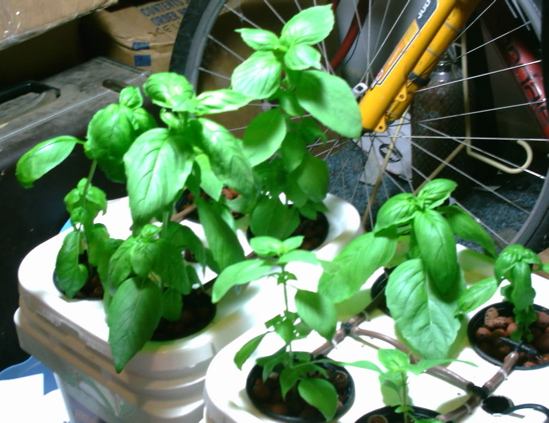
This garden should provide years of fun. This a great starter setup. Good Luck with your garden. Below are pictures from growing in the buckets.